Flutter Path 学习日记 (一)

前言
1 | |
1、moveTo(x, y) 和 lineTo(x, y)
- 先看代码
1 | |
- 我们可以通过在
build方法中返回一个CustomPaint来实现自定义页面。 - 我们可以通过继承
CustomPainter来自定义一个类似于Android中自定义View的东西。 - 继承
CustomPainter需要重写两个关键方法,其中的paint方法内部可以自由绘制。 - 注意,
Flutter和Android一样,坐标原点(0, 0)位于左上角,右和下为x、y轴的正方向。 - 其中的
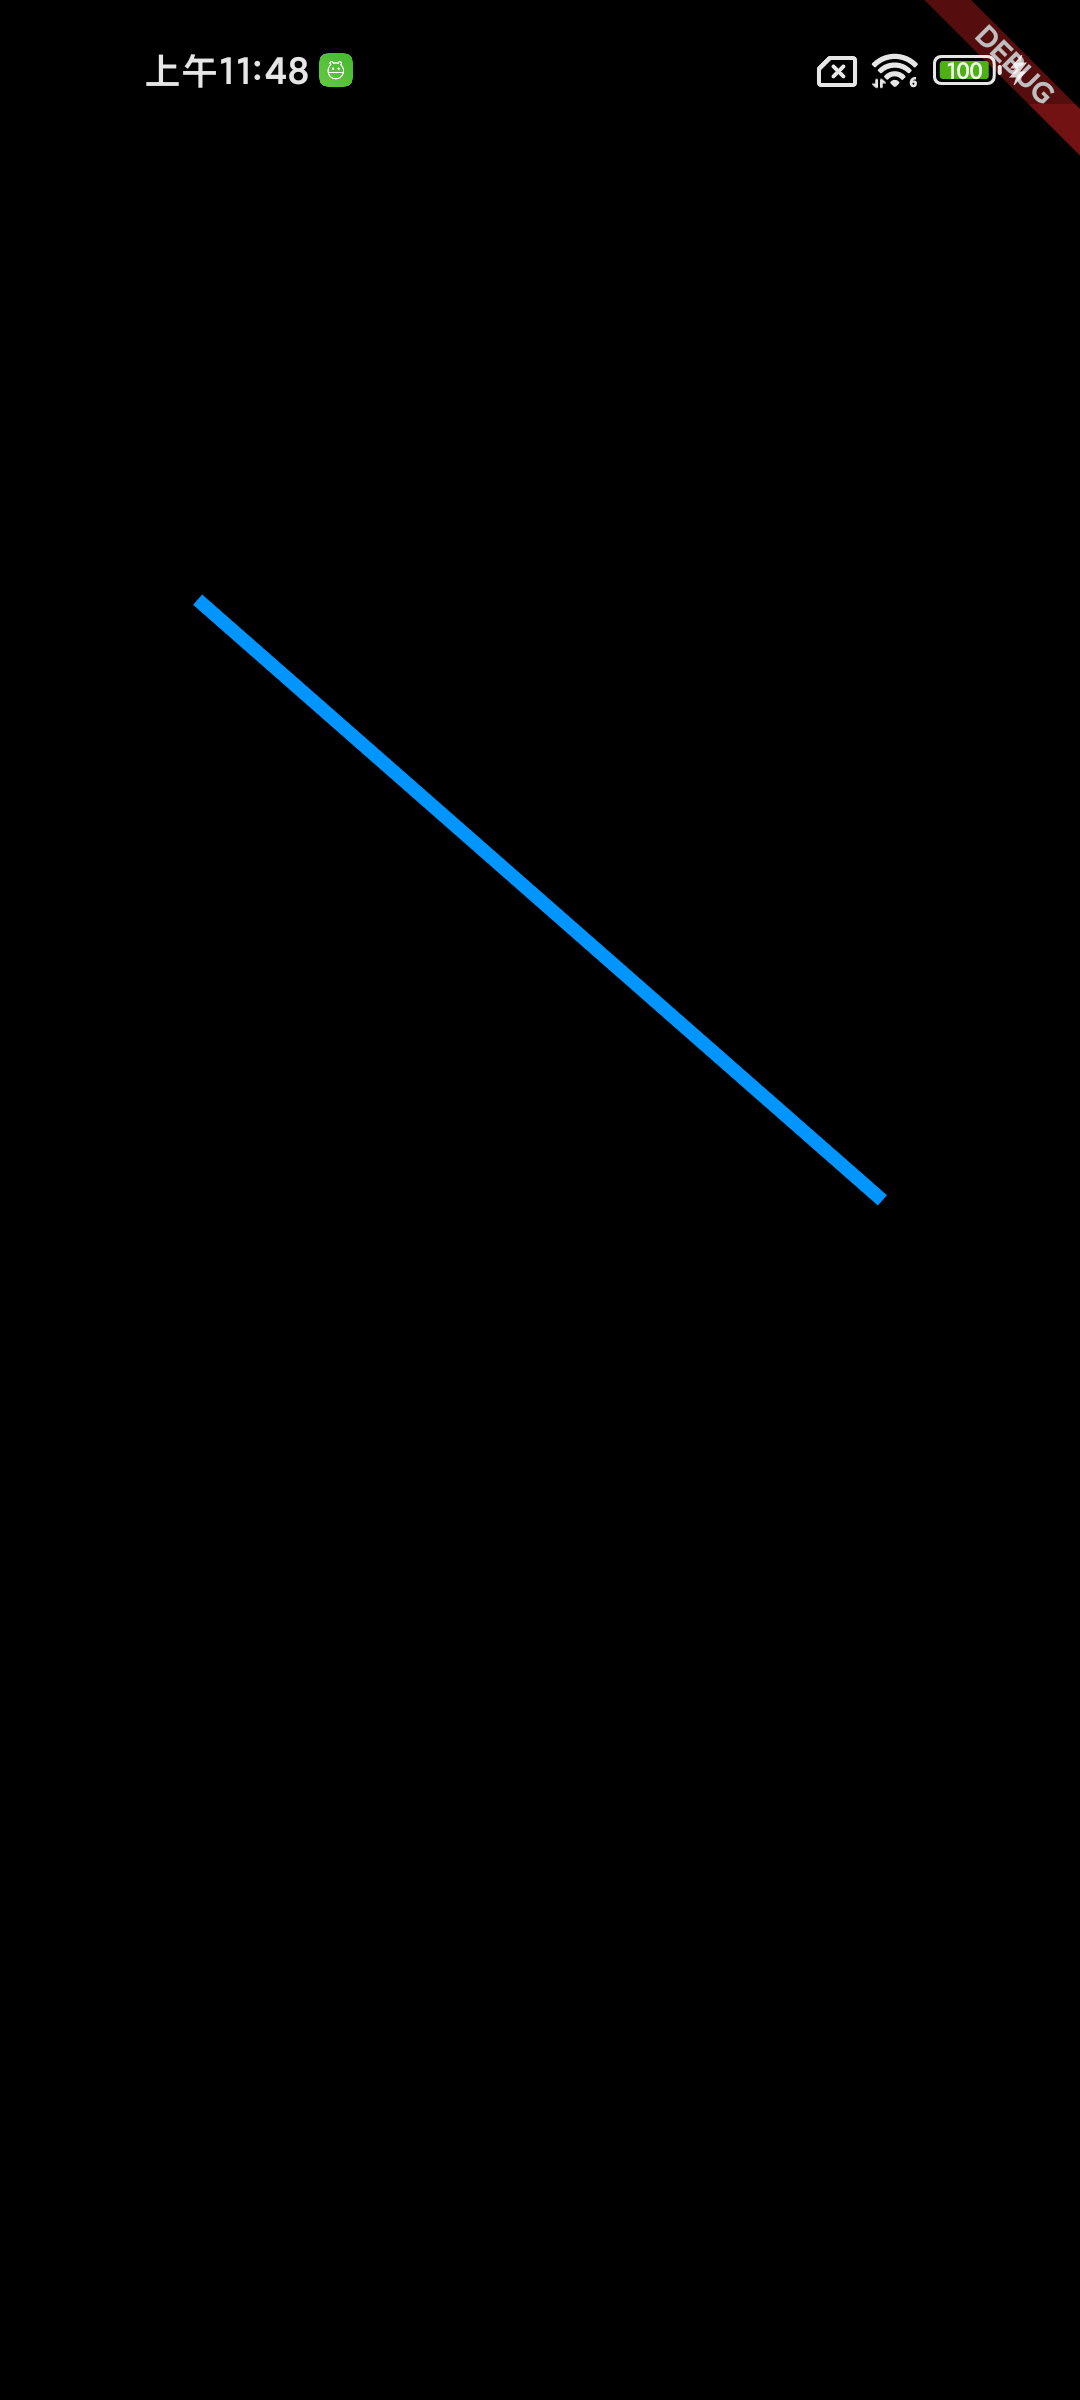
moveTo即为将绘制的起始点移动到指定的位置 - 而
lineTo则为从起点画一条直线到目标点 - 以下为上述代码的效果图
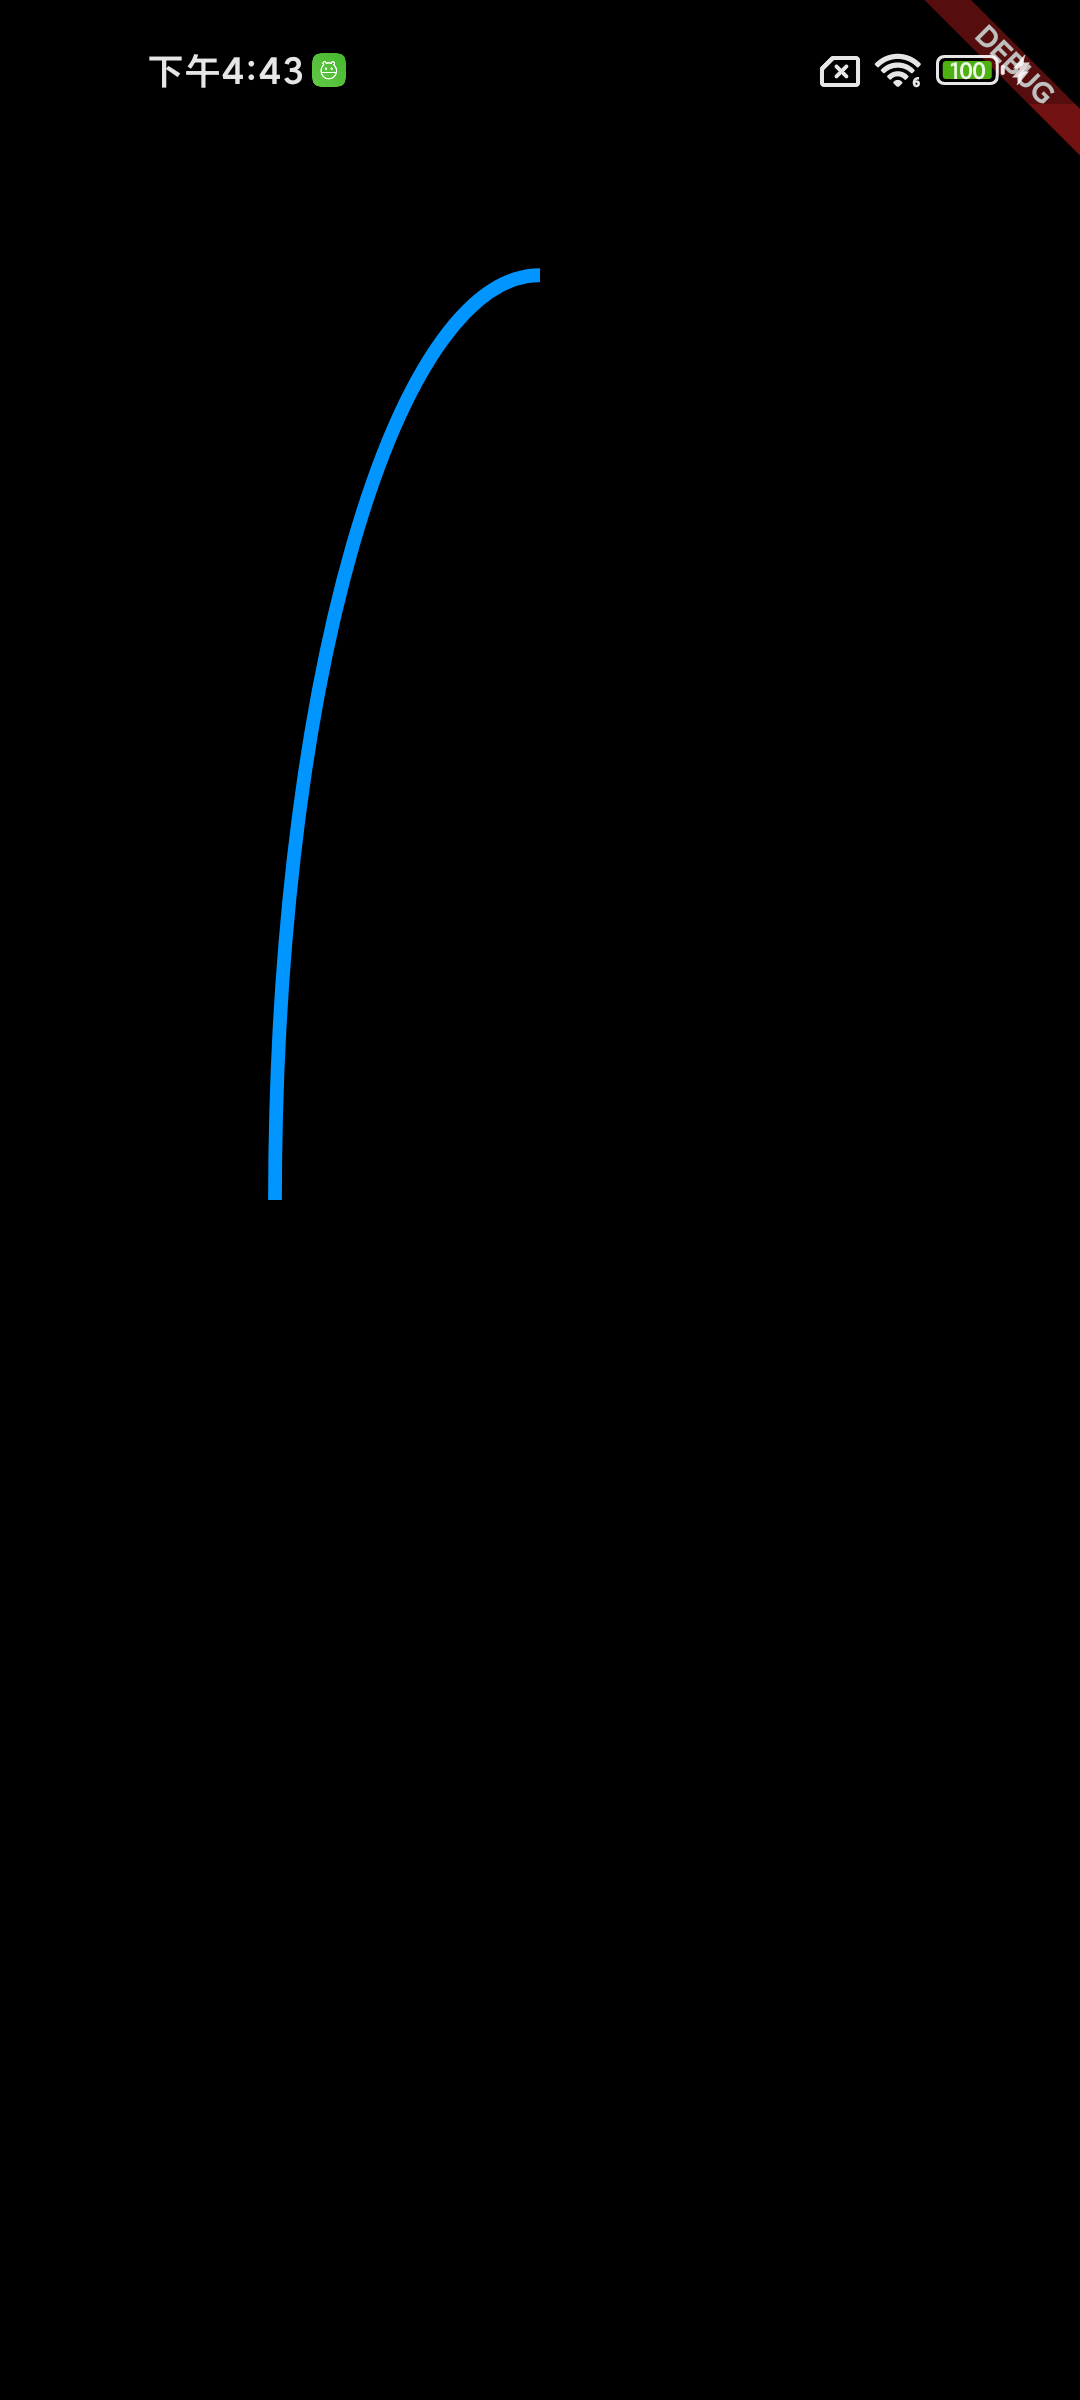
2、quadraticBezierTo(x1, y1, x2, y2)
quadraticBezierTo(x1, y1, x2, y2)为绘制二阶贝塞尔曲线- 其中 x1, y1 为控制点,x2, y2 为终点
二阶贝塞尔曲线除了起点和终点外,还有一个控制点,如下图
- 以下为
贝塞尔曲线绘制的关键代码
1 | |
- 以下为绘制出来的图形

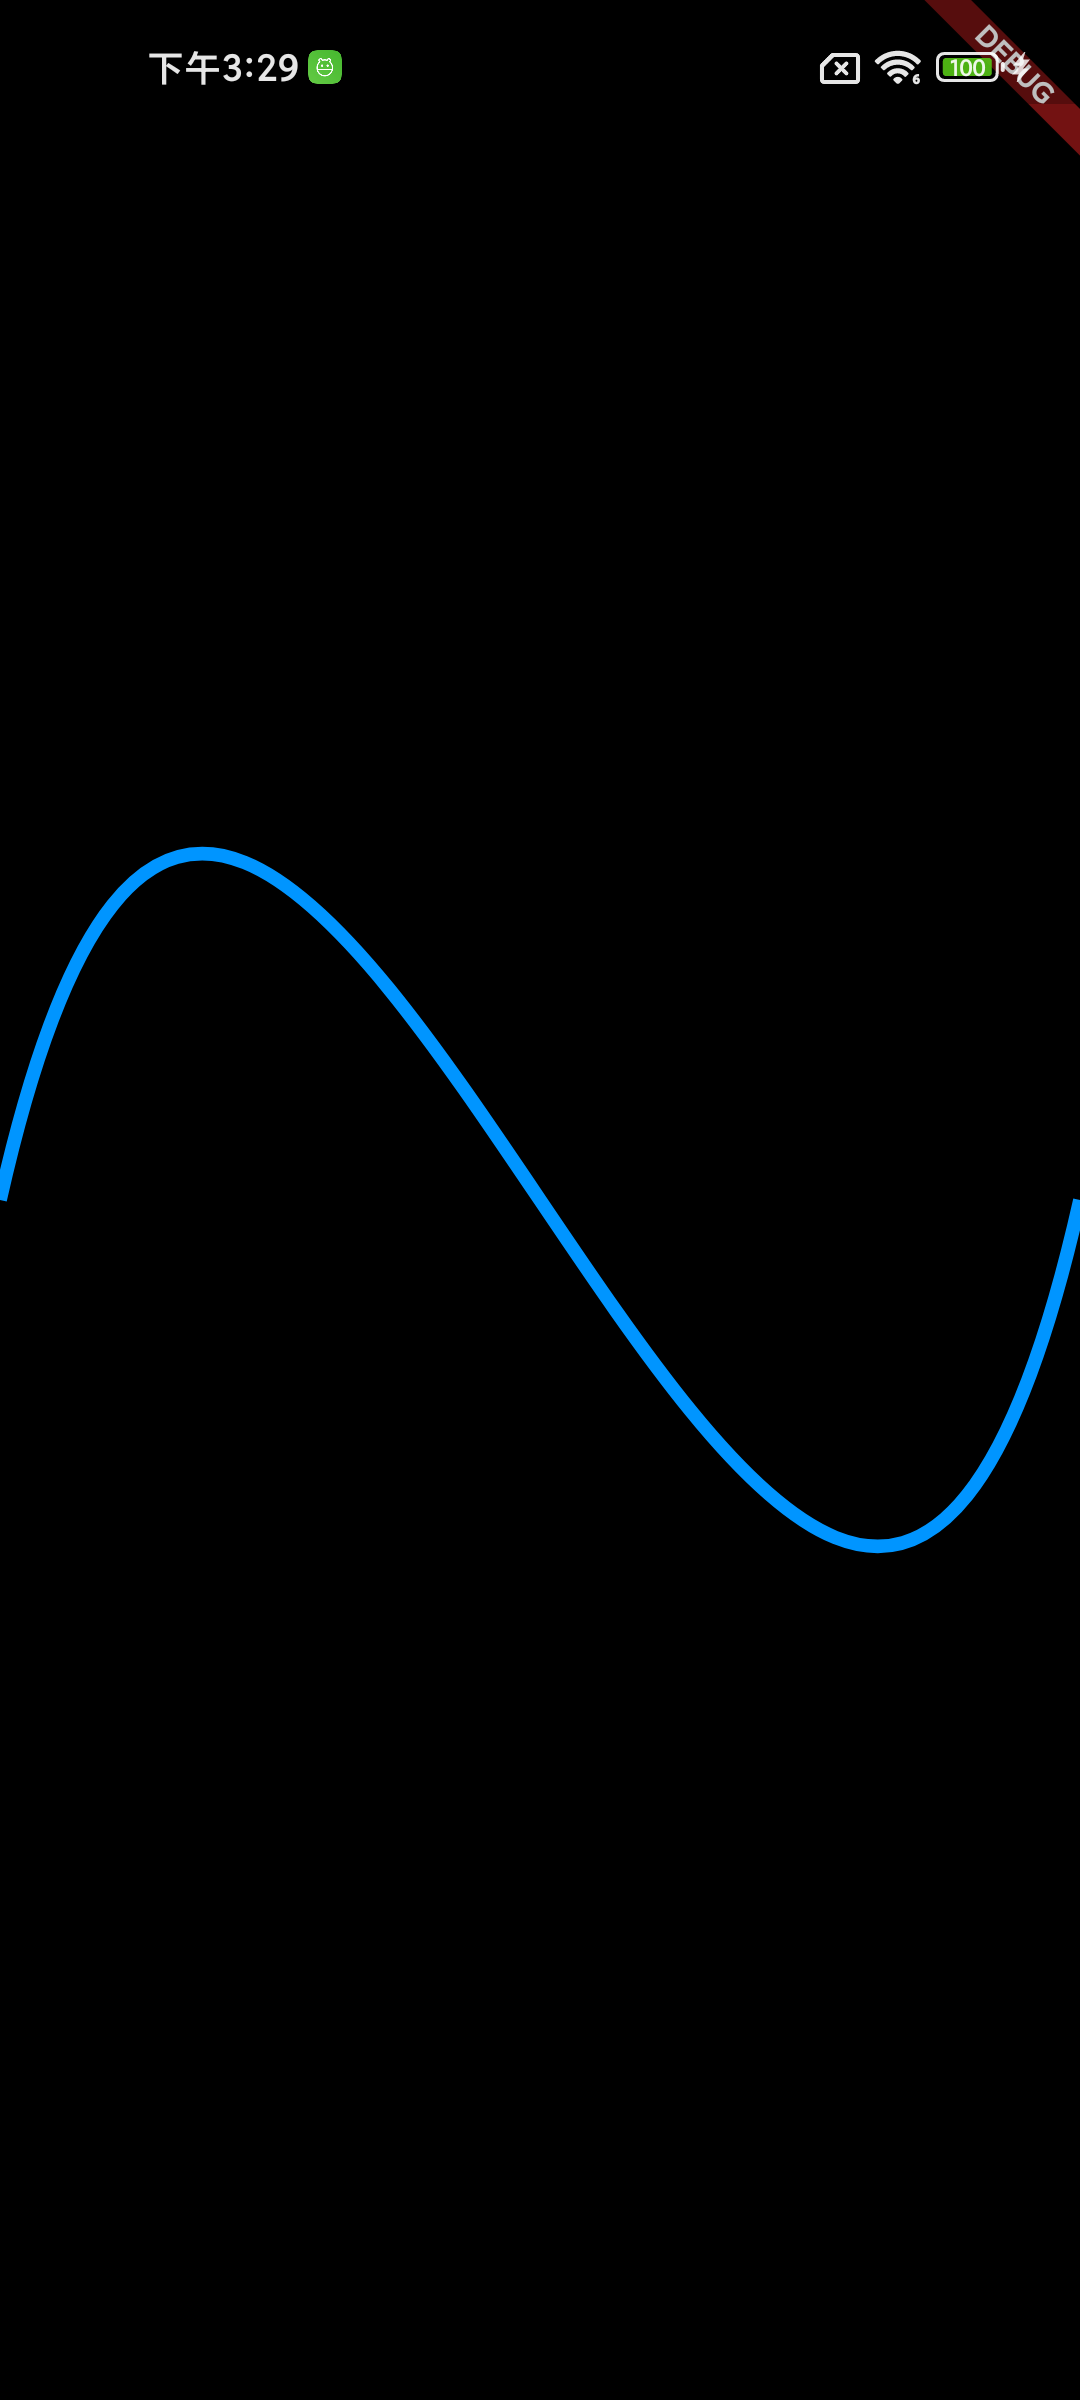
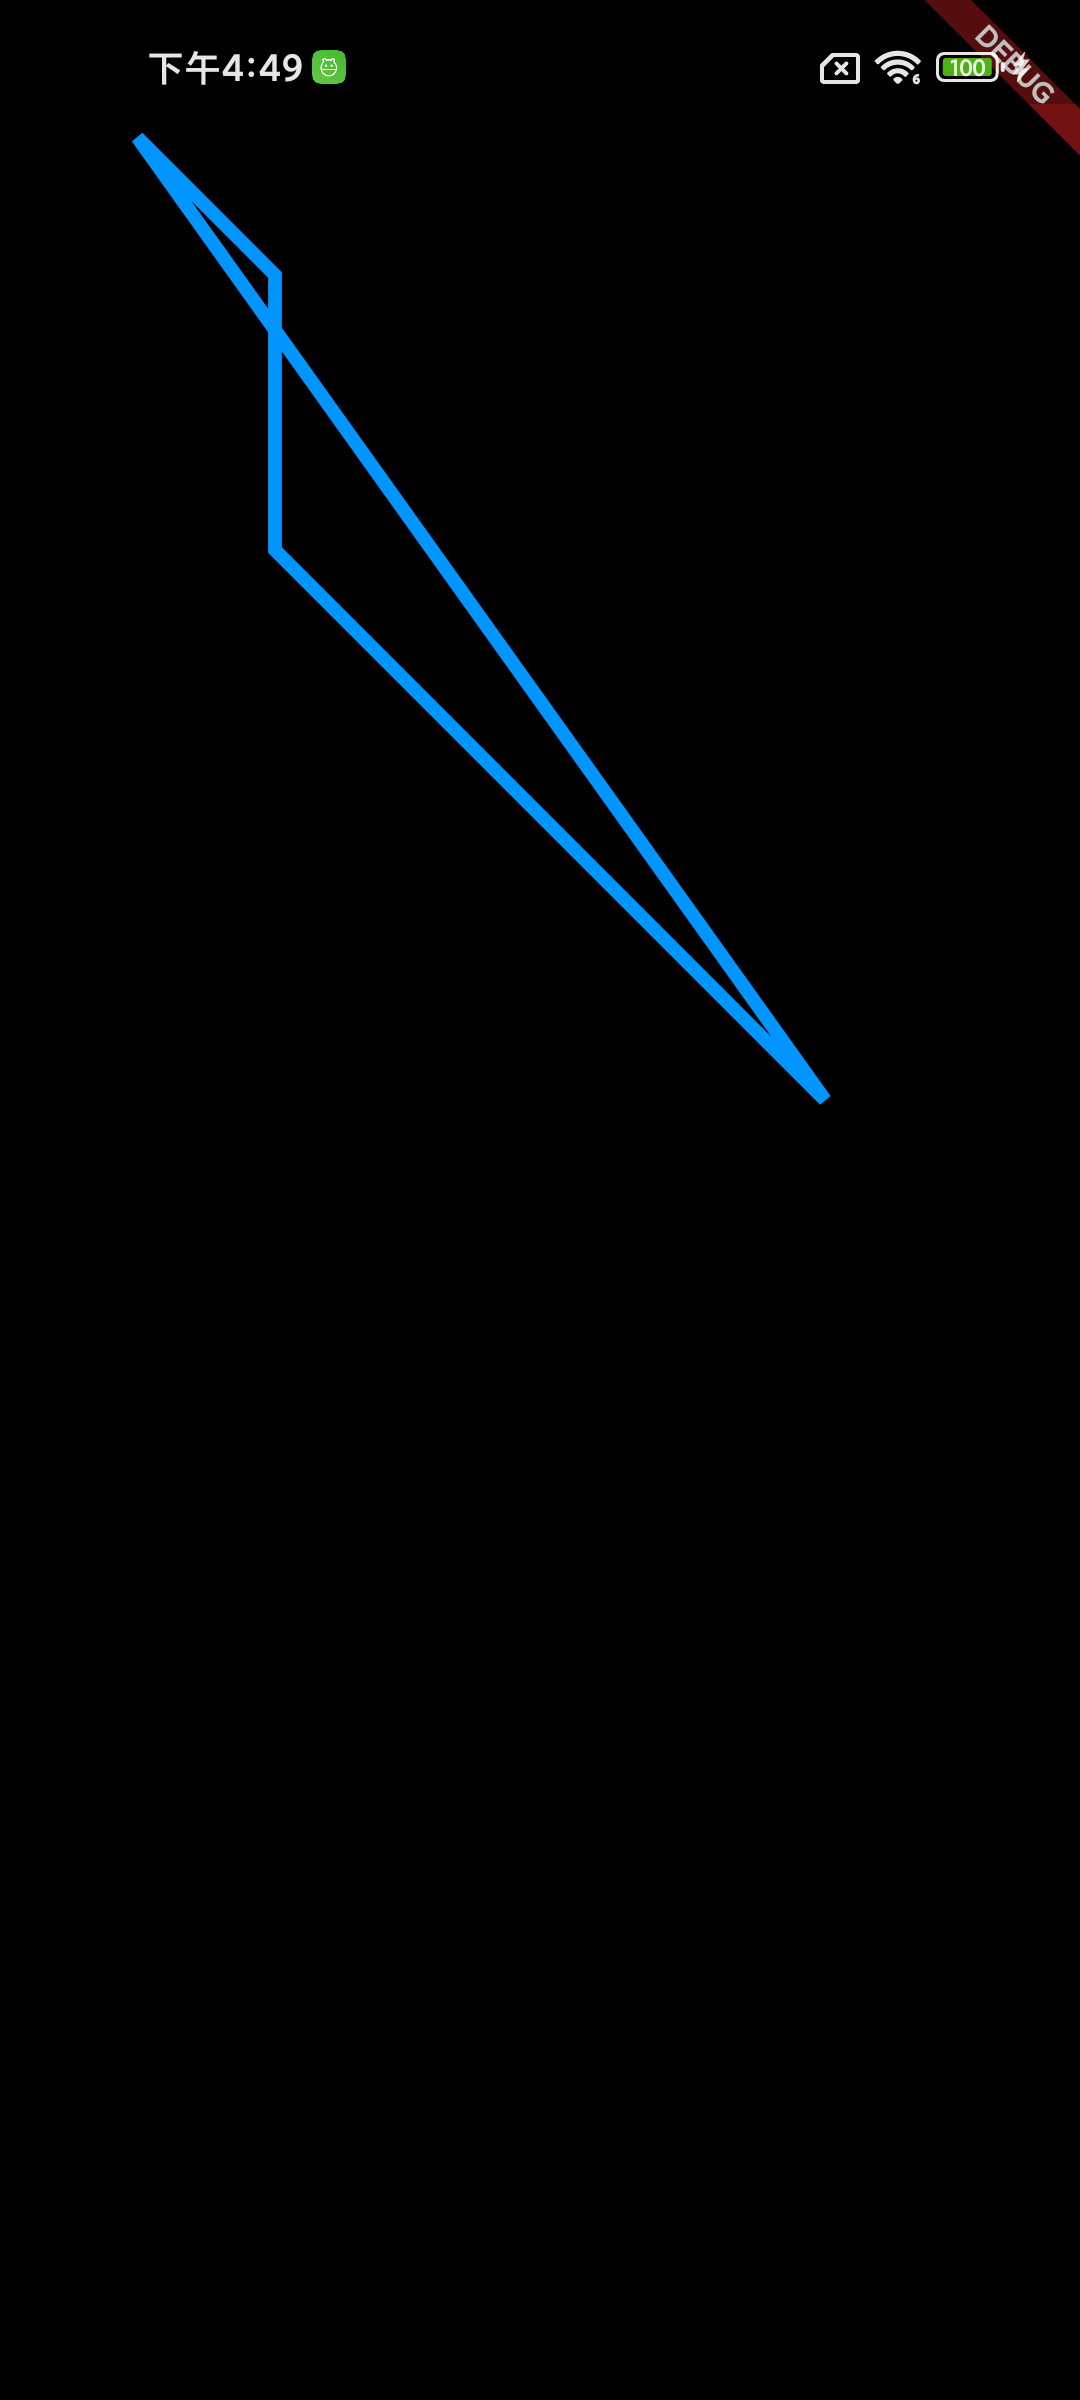
3、cubicTo(x1, y1, x2, y2, x3, y3)
cubicTo(x1, y1, x2, y2, x3, y3)为绘制三阶贝塞尔曲线- 其中
(x1, y1)为控制点1,(x2, y2)为控制点2,(x3, y3)为终点 三阶贝塞尔曲线如下图
- 以下为
三阶贝塞尔曲线绘制的关键代码
1 | |
- 以下为绘制出来的图形
4、conicTo(x1, y1, x2, y2, weight)
conicTo(x1, y1, x2, y2, weight)为绘制圆锥曲线- 其中
(x1, y1)为控制点,(x2, y2)为终点,weight类似于离心率 - 当
weight大于 1 时为双曲线 - 当
weight等于 1 时为抛物线 - 当
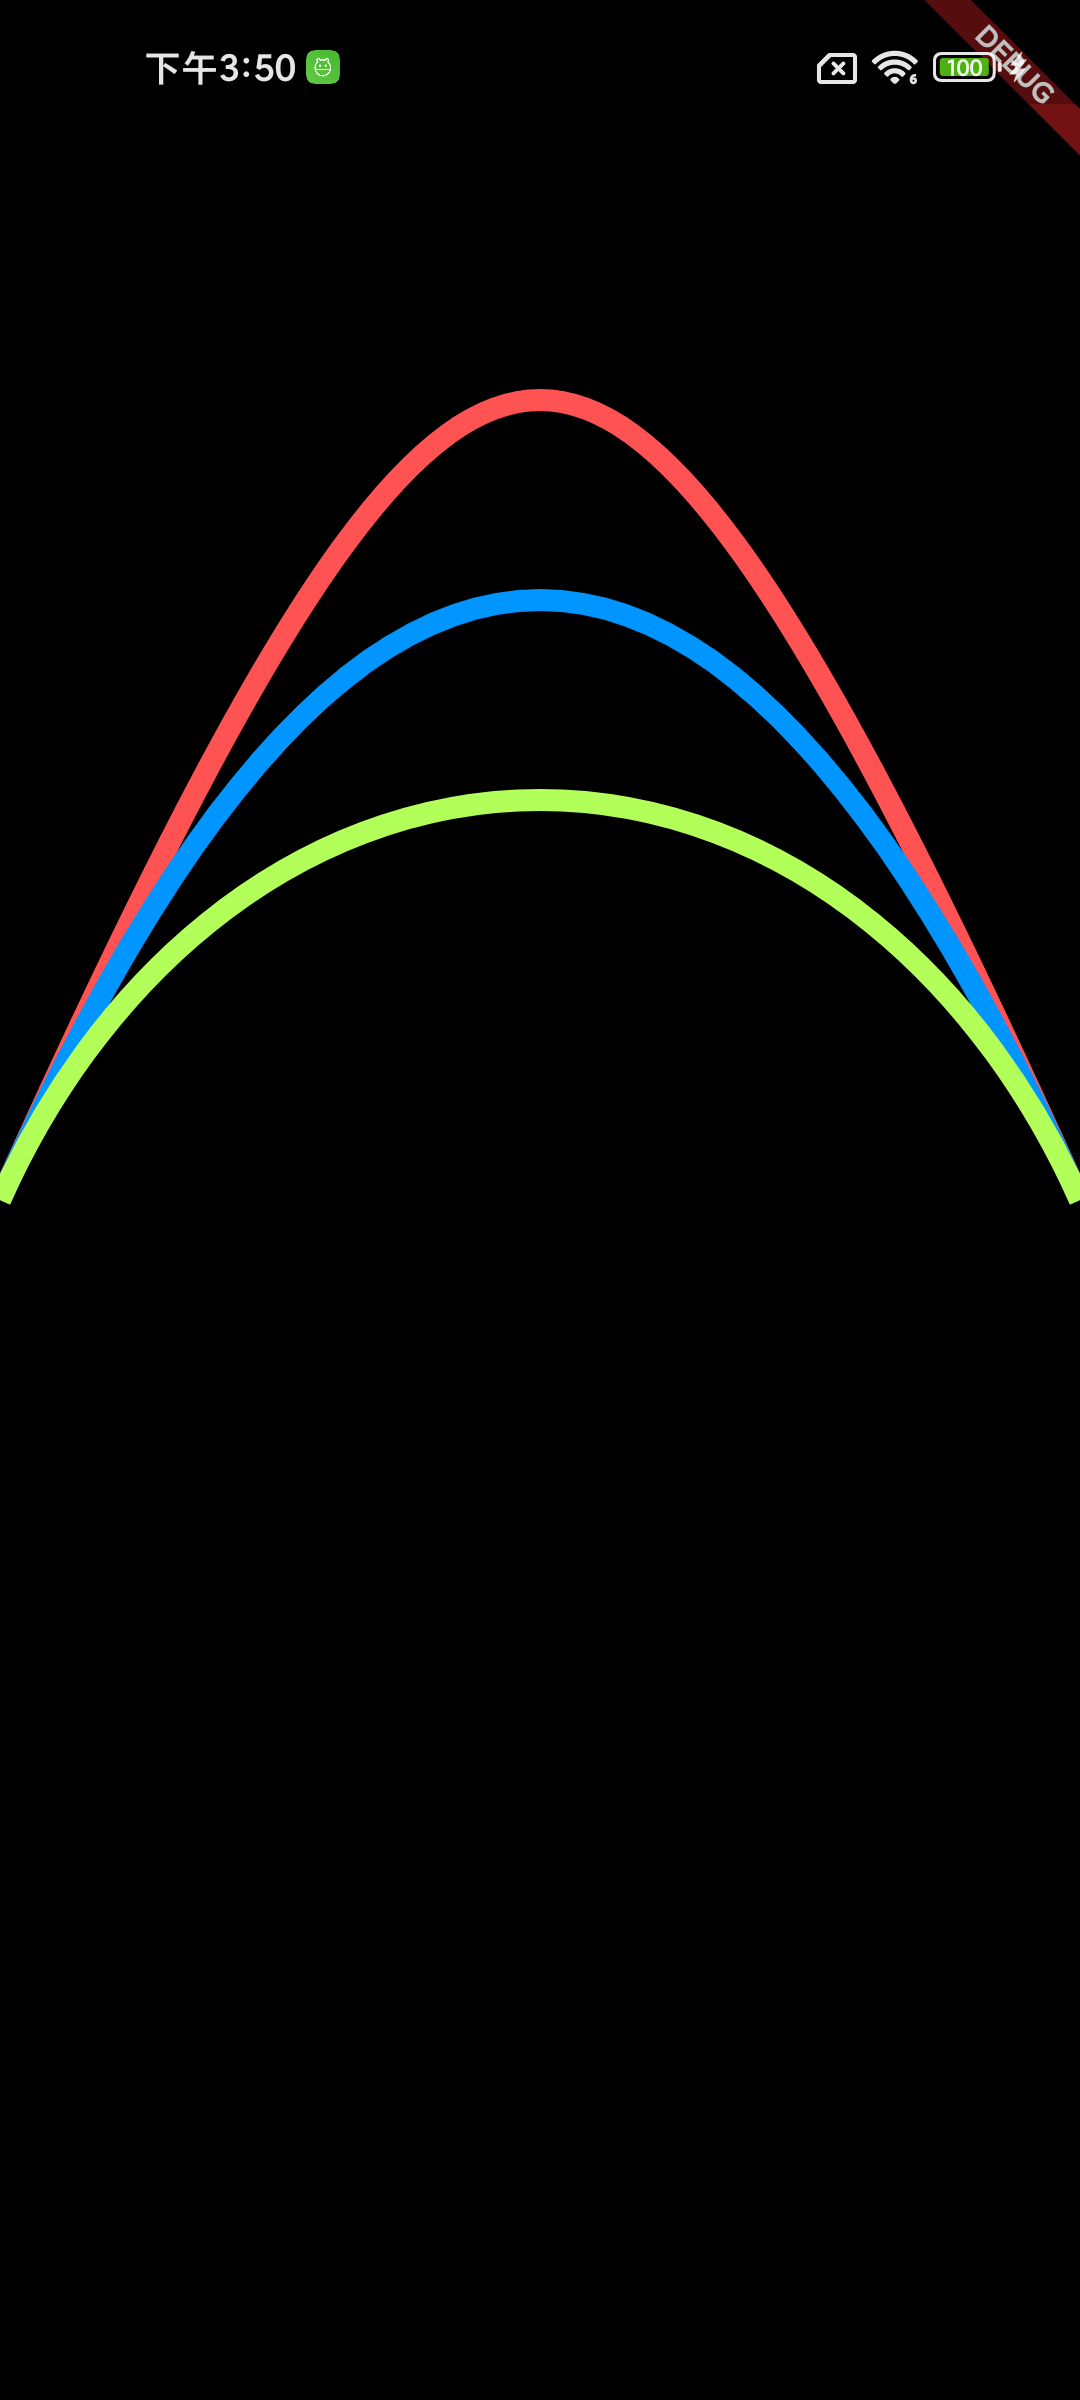
weight小于 1 时为椭圆 - 以下为绘制的相关代码,分别绘制了离心率不同的三条线
1 | |
- 以下为绘制出来的图形
5、arcTo(rect, startAngle, sweepAngle, forceMoveTo)
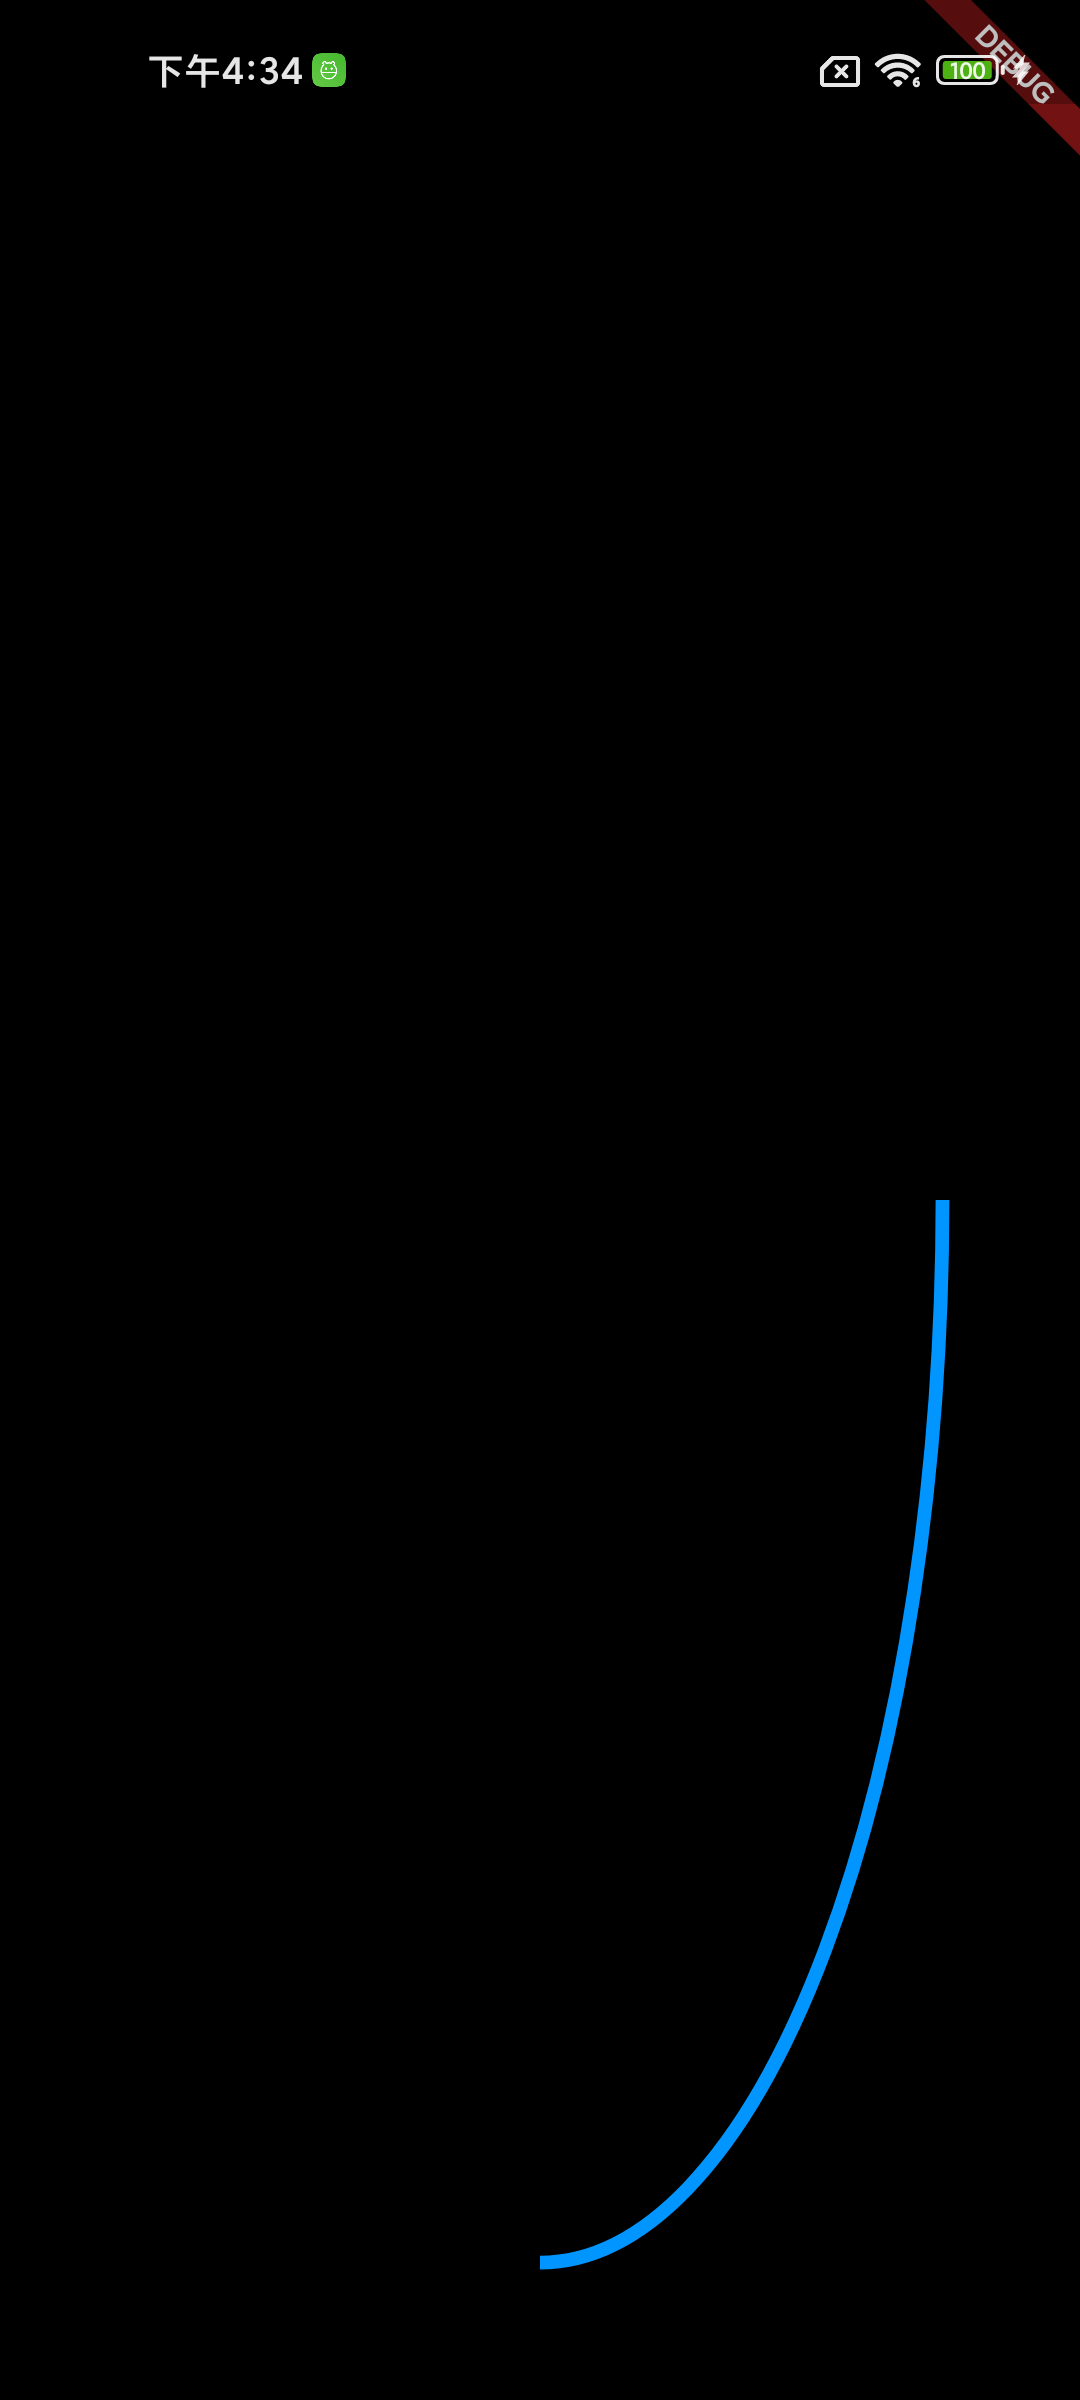
arcTo(rect, startAngle, sweepAngle, forceMoveTo)为绘制圆弧rect圆弧外切矩形startAngle为起始角度,以经典坐标系的 x轴 为起始角度sweepAngle为扫过的弧度,和经典角度相反,顺时针为正弧度,逆时针为负弧度forceMoveTo是否强制移动过去- 以下为绘制的关键代码,注意参数是
弧度,所以要用数据中的pai换算
1 | |
- 以下为绘制出来的图形
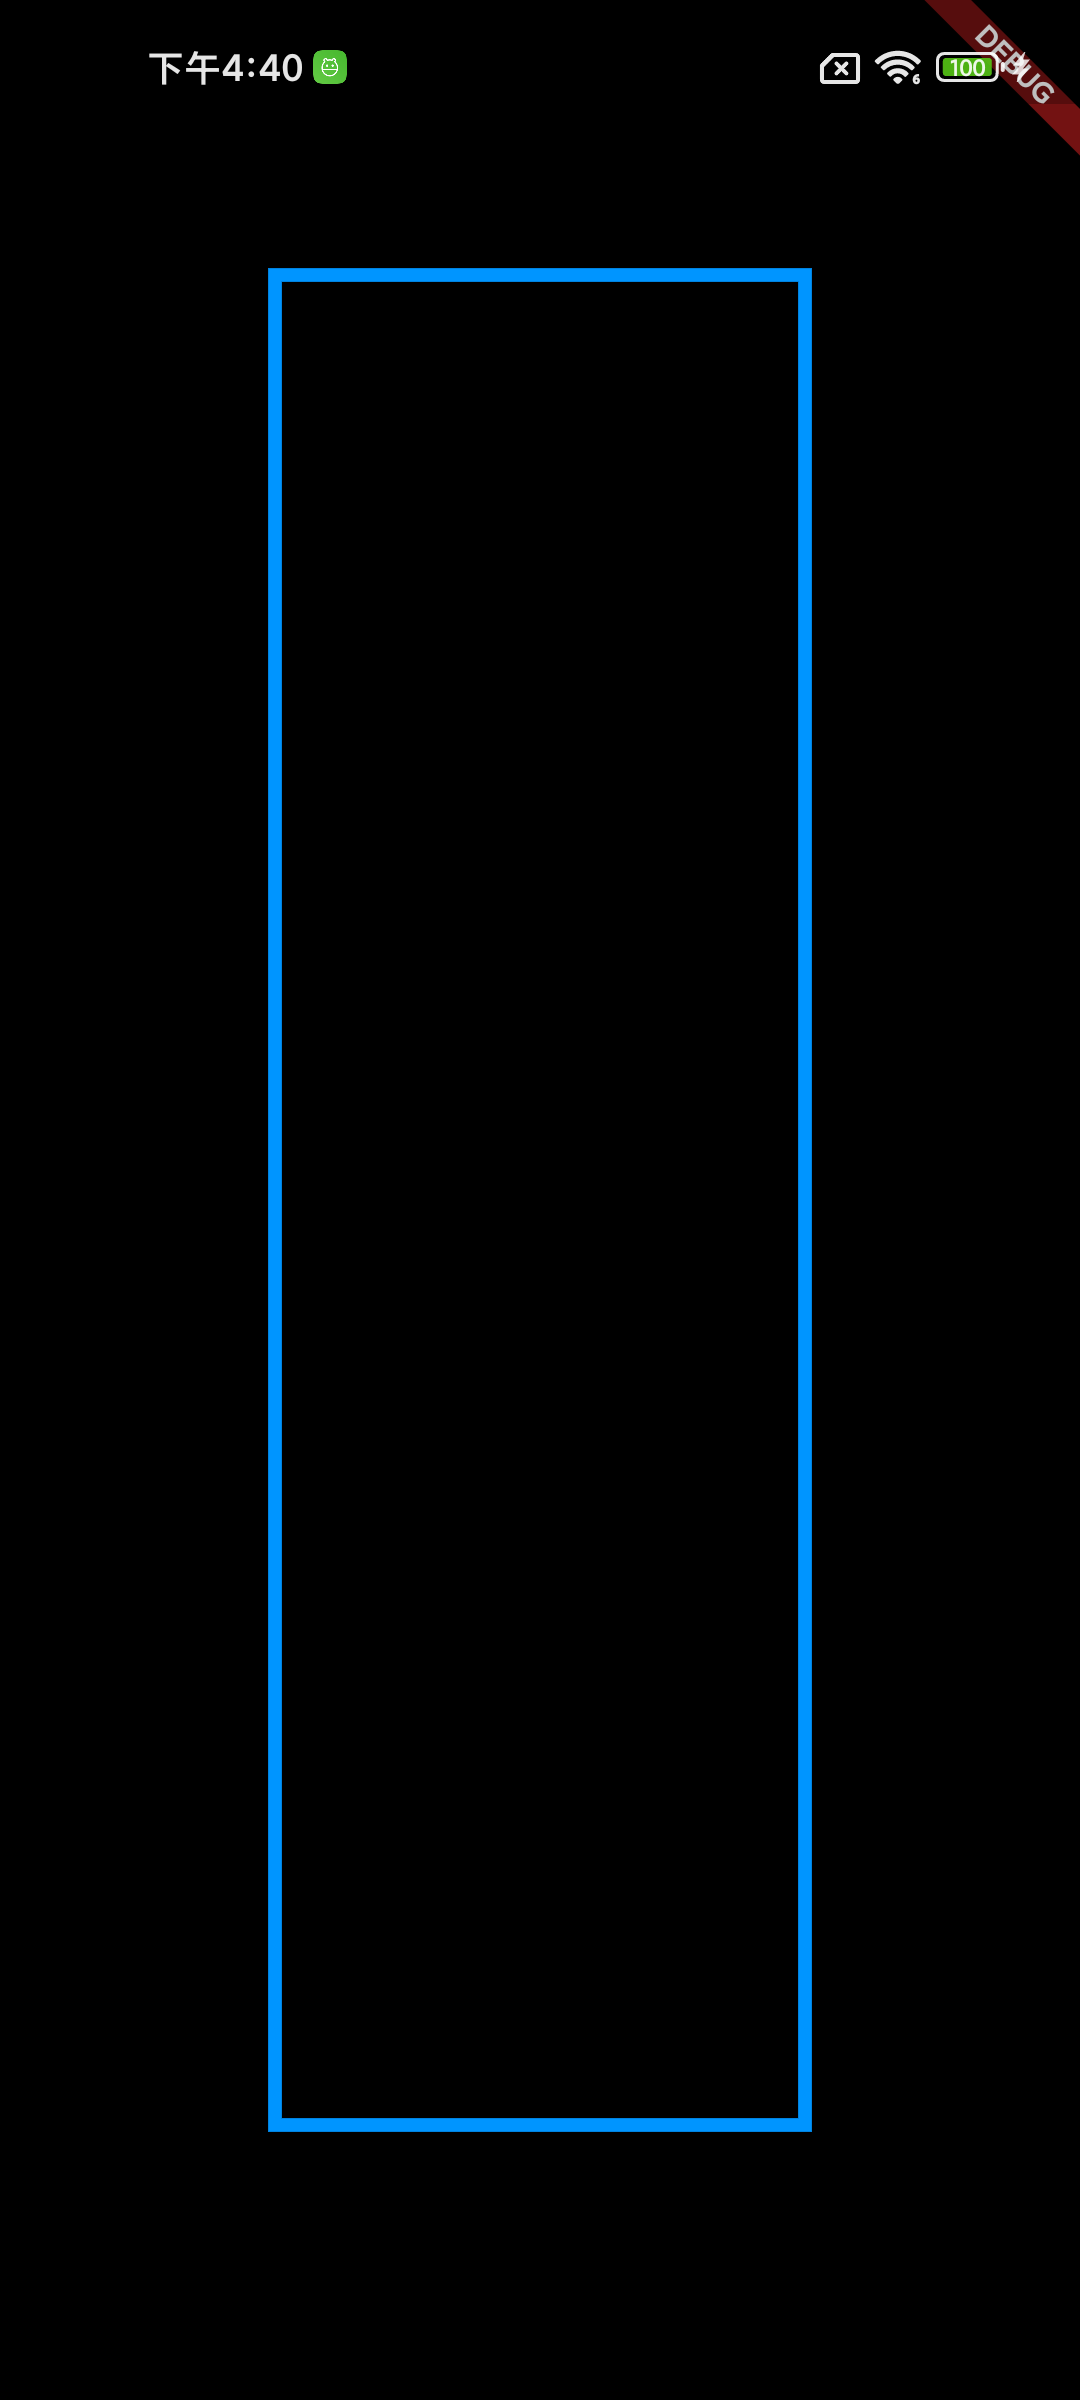
6、addRect(rect)
addRect(rect)为添加矩形,矩形参数为rect- 需要注意的是,这里是
addXxx方法,不再是xxxTo - 以下为绘制的关键代码
1 | |
- 以下为绘制出来的图形
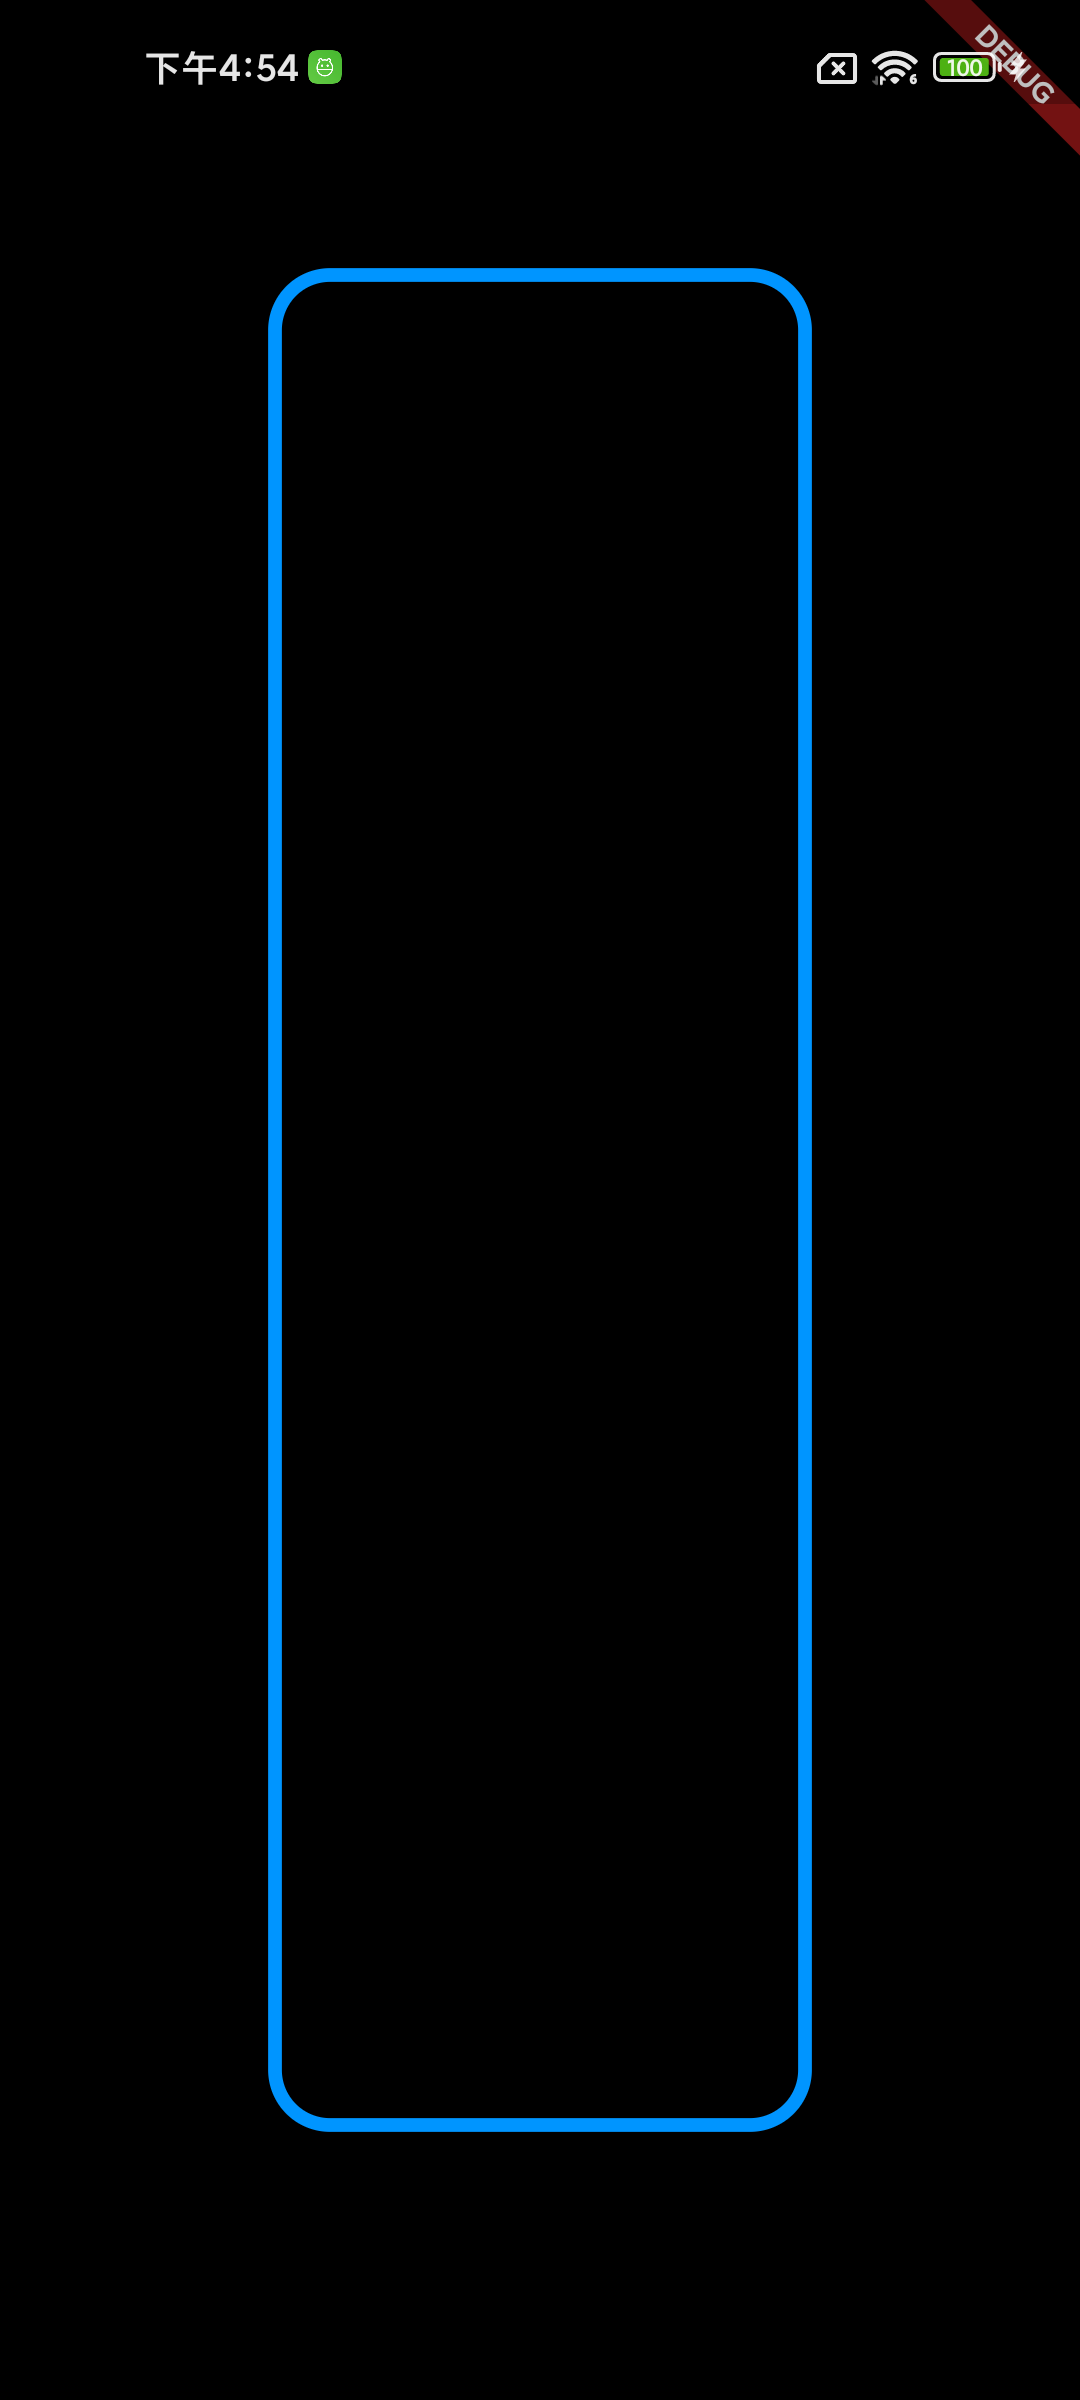
7、addRRect(rRect)
addRRect(rRect)为添加带弧度的矩形- 需要注意的是,这里是
addXxx方法,不再是xxxTo - 以下为绘制的关键代码
1 | |
- 以下为绘制出来的图形
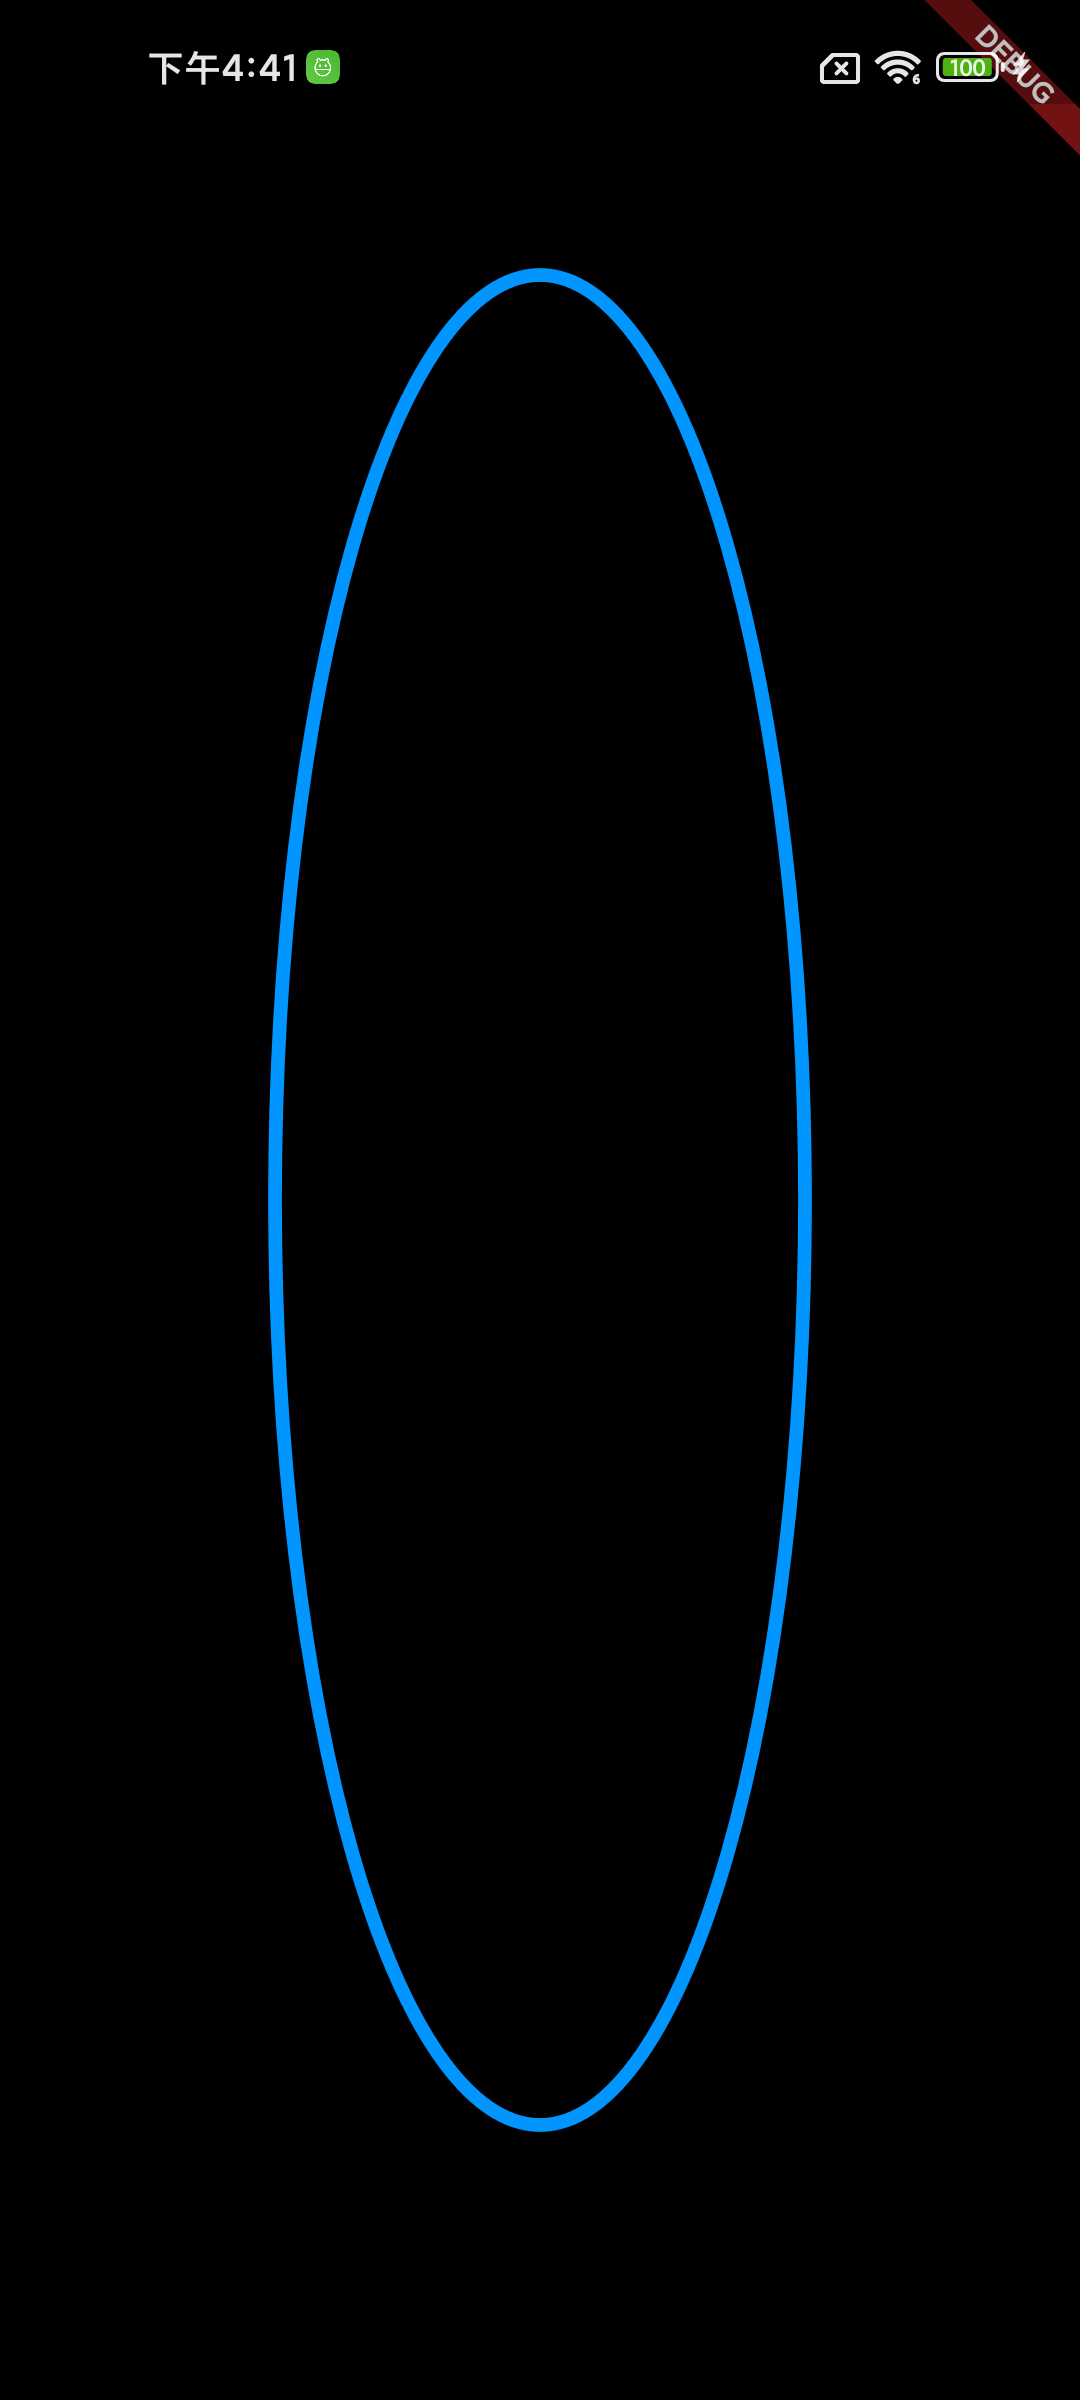
8、addOval(rect)
addOval(rect)为添加椭圆- 需要注意的是,这里是
addXxx方法,不再是xxxTo - 以下为绘制的关键代码
1 | |
- 以下为绘制出来的图形
9、addArc(rect, startAngle, sweepAngle)
addArc(rect, startAngle, sweepAngle)为添加圆弧- 需要注意的是,这里是
addXxx方法,不再是xxxTo - 以下为绘制的关键代码
1 | |
- 以下为绘制出来的图形
10、addPolygon(List points, bool close)
addPolygon为添加多边形,close参数是是否闭环- 需要注意的是,这里是
addXxx方法,不再是xxxTo - 以下为绘制的关键代码
1 | |
- 以下为绘制出来的图形
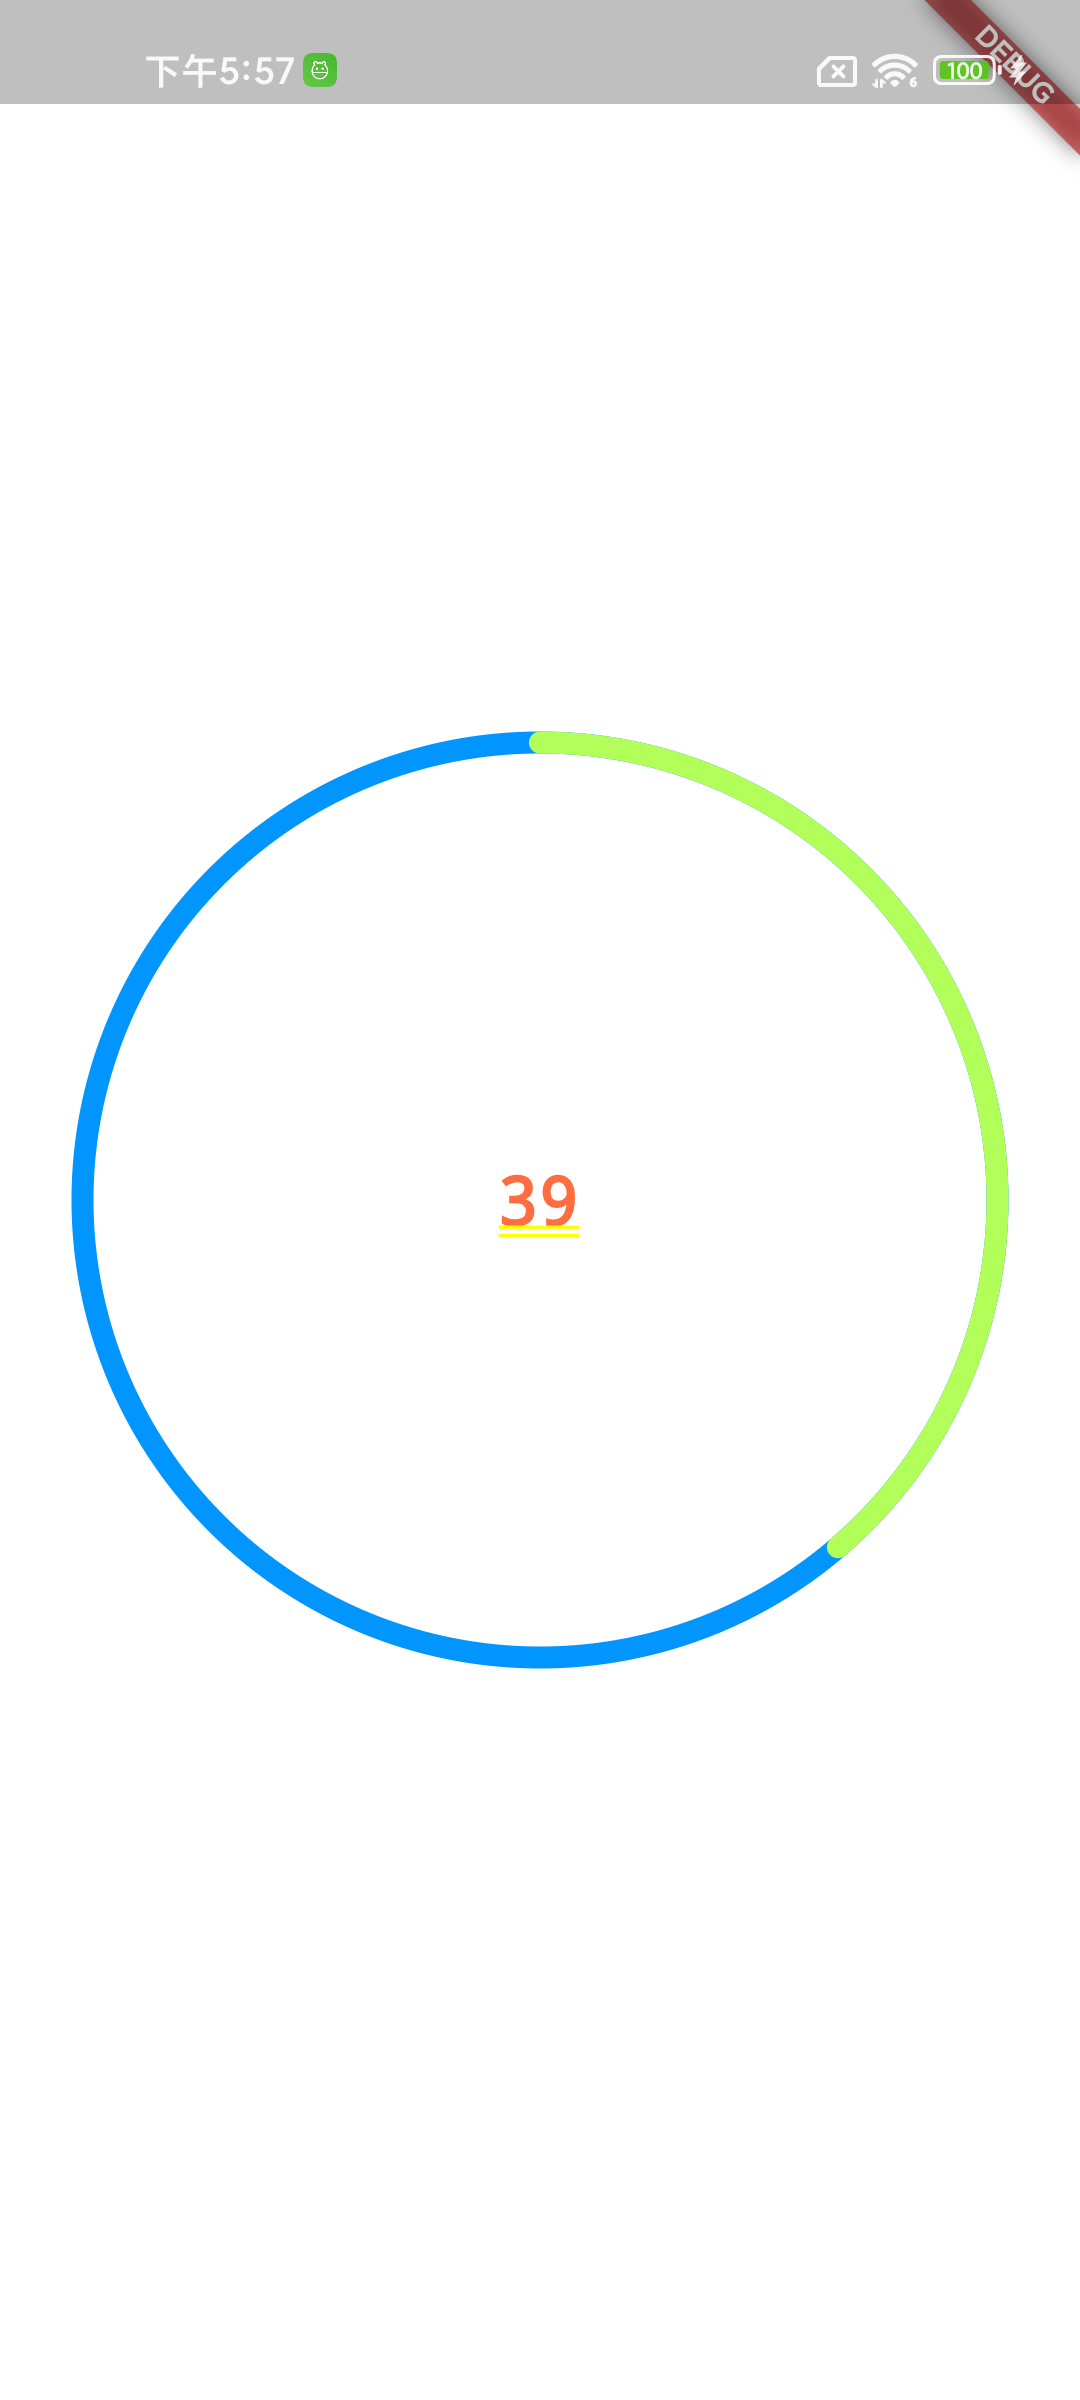
11、Path 绘制圆形进度条
- 学习了这么多的方法,现在开始绘制一个圆形的进度条。
- 直接上代码
1 | |
- 通过
AnimationController来控制动画时间为 5 秒 - 通过
Animation来创建一个Tween动画,进度为 0 到 360 度 - 页面初始化的时候,添加监听,并跑动画
controller.forward() - 在绘制的时候,先绘制一个底色圆
- 再根据进度参数,绘制对应的圆形进度条
- 以下为绘制出来的一个动画截图
代码传送门
参考资料


Flutter Path 学习日记 (一)
http://jxr202.github.io/flutter/flutter_012-af9a9a1f13a0/